Blinking LEDs with Rust
Learn embedded Rust by blinking an LED on a microcontroller.
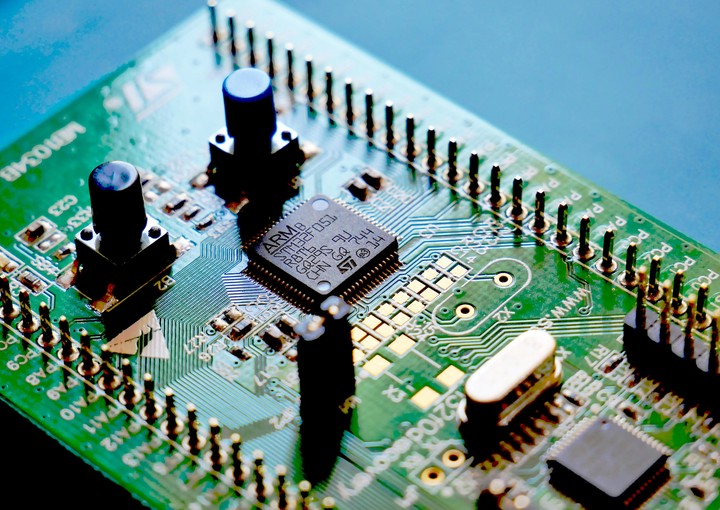
 Photo by
Vishnu Mohanan on
Unsplash
Photo by
Vishnu Mohanan on
UnsplashRust is a modern programming language focused on safety, speed, and concurrency. It’s a go-to for system-level tasks, offering strong guarantees against common bugs like null pointer dereferences. Embedded systems, with their resource constraints and real-time demands, could really benefit from more Rust. Rust’s zero-cost abstractions maintain performance while keeping code size small. Real-time requirements are met through precise hardware interaction, aided by Rust’s features like immutable variables and robust type systems. With cross-compilation capabilities and a growing library ecosystem, Rust has recently become (in my opinion) a viable choice for embedded development.
Rust is also the first new programming language that I’ve learned since Haskell and I really like how it combines the best of functional programming with the best of systems programming. I’ve been playing around with Rust for a while now and I wanted to try my hand at embedded development with Rust. In this post, I’ll show you how to blink an LED on an STM32F407 Discovery board using Rust.
The STM32F407 Discovery Board
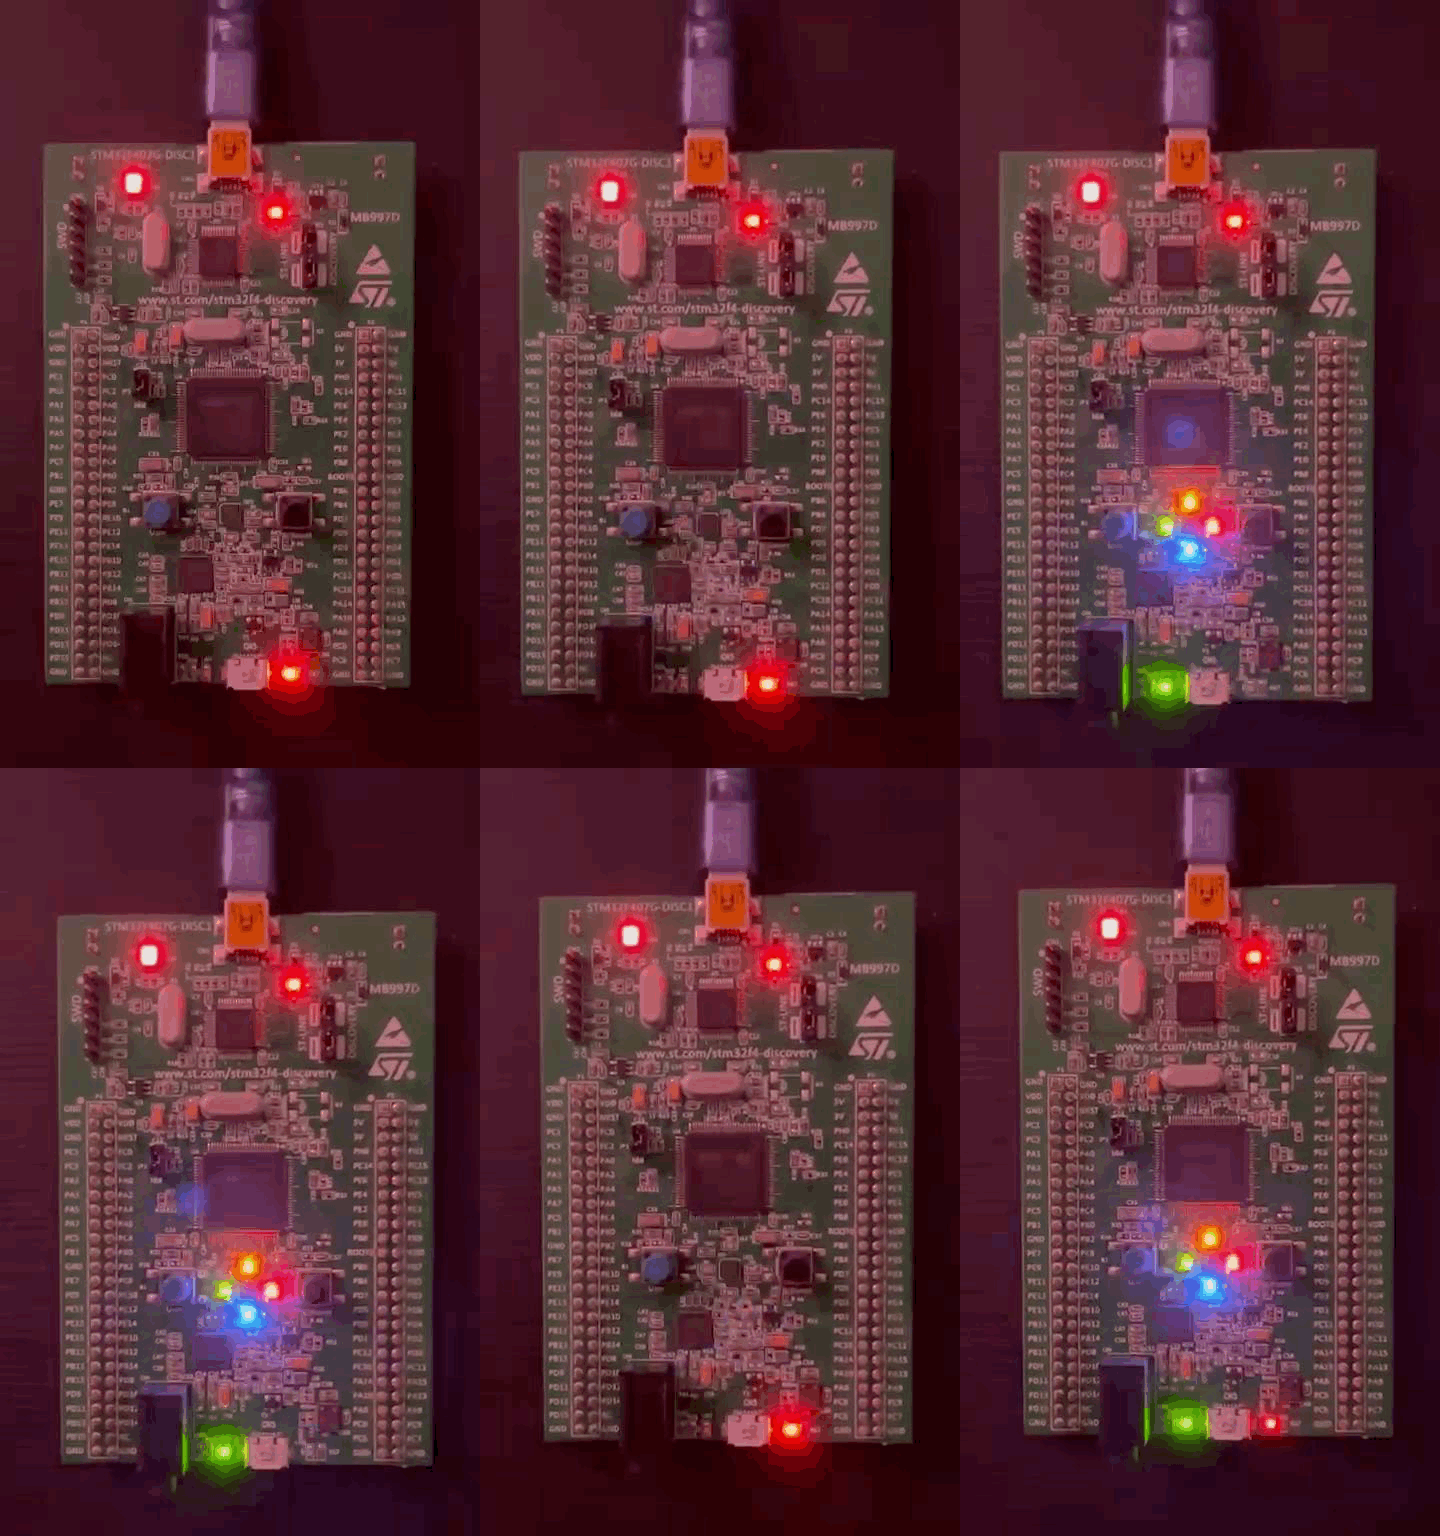
The STM32F407 Discovery board is a development board based on the STM32F407VG microcontroller. The board uses an STM32F407 micro-controller and has plenty of LEDs, some push buttons, an accelerometer, a microphone and an audio DAC. Plenty of peripherals to play around with. The user manual has the pinouts and list of peripherals.
Setting Up Rust for Embedded Development
First follow the instructions from rustup.rs to install rust.
curl --proto '=https' --tlsv1.2 -sSf https://sh.rustup.rs | sh
To compile rust for our micro-controller, we need to let it know what target to compile for. Microcontrollers like the STM32 use the thumb instruction set, which is a subset of the ARM instruction set. Rust has a target for the thumb instruction set, so we need to install it.
rustup target add thumbv7em-none-eabihf
Next, we need to create a new empty project using cargo.
cargo new --bin blinky
Cargo needs some more information to build for a microcontroller. So we need a .cargo/config.toml file in the project directory with the following contents:
[target.'cfg(all(target_arch = "arm", target_os = "none"))']
# replace  STM32F407VG with your chip as listed in `probe-rs chip list`
runner = "probe-rs run --chip STM32F407VG"

[target.thumbv7em-none-eabihf]
rustflags = ["-C", "link-arg=-Tlink.x"]

[build]
target = "thumbv7em-none-eabihf"

[env]
DEFMT_LOG = "trace"
Also useful are some tools that can be used to prepare the binary for flashing onto the microcontroller. We can install these tools using cargo.
cargo install cargo-binutils
rustup component add llvm-tools-preview
Libraries
Rust has a lot of libraries already that support the hardware of the STM32, which makes things very convenient for us. Rust also has an excellent library called
embassy - a lightweight async/await runtime that is designed to work on embedded devices. It is built on top of the cortex-m crate, which provides low-level access to the ARM Cortex-M processors. In traditional C++ based embedded development, you would use an embedded RTOS like FreeRTOS or MBED OS to manage tasks and interrupts. However, with embasst, you can use the async/await syntax to write concurrent code that is (in my opinion) much easier to reason about and debug.
To use embassy, add the following dependencies to your Cargo.toml file:
[package]
name = "stm32f407_tests"
authors = ["Ashwin Narayan < [email protected] >"]
version = "0.1.0"
edition = "2021"

[[bin]]
name = "blinky"
path = "src/bin/blinky.rs"
test = false
bench = false

# Set up the release profile to optimize our binaries
[profile.release]
codegen-units = 1 # better optimizations
debug = true      # symbols are nice and they don't increase the size on Flash
lto = true        # better optimizations
opt-level = "s"   # Optimize for size

# See more keys and their definitions at https://doc.rust-lang.org/cargo/reference/manifest.html

[dependencies]
embassy-stm32 = { version = "0.1.0", features = [
    "stm32f407vg",
    "unstable-pac",
    "memory-x",
    "time-driver-any",
    "exti",
    "chrono",
] }
embassy-executor = { version = "0.5.0", features = [
    "integrated-timers",
    "arch-cortex-m",
    "executor-thread",
] }
embassy-time = { version = "0.3.0" }
embassy-sync = { version = "0.5.0" }
cortex-m = { version = "0.7", features = ["critical-section-single-core"] }
cortex-m-rt = "0.7"
panic-probe = { version = "0.3" }
We will then delete the src/main.rs file and create a new file src/bin/blinky.rs that will contain our code to blink our LEDs.
Blinking an LED
First, the code:
#![no_std]
#![no_main]

use embassy_executor::Spawner;
use embassy_stm32::gpio::{Level, Output, Speed};
use embassy_time::{Duration, Ticker};
use panic_probe as _;

fn clock_config() -> embassy_stm32::Config {
    let mut config = embassy_stm32::Config::default();

    // Configure to use the high speed internal oscillator (HSI).
    config.rcc.hsi = true;

    config
}

#[embassy_executor::main]
async fn main(_spawner: Spawner) {
    // Initialize embassy
    let peripherals = embassy_stm32::init(clock_config());

    // Create a new output pin - PA9 is the green led on the Discovery board
    let mut green_led = Output::new(peripherals.PA9, Level::High, Speed::VeryHigh);
    let mut red_led = Output::new(peripherals.PD5, Level::High, Speed::VeryHigh);
    let mut green_led2 = Output::new(peripherals.PD12, Level::High, Speed::VeryHigh);
    let mut orange_led = Output::new(peripherals.PD13, Level::High, Speed::VeryHigh);
    let mut red_led2 = Output::new(peripherals.PD14, Level::High, Speed::VeryHigh);
    let mut blue_led = Output::new(peripherals.PD15, Level::High, Speed::VeryHigh);

    // Create a new Ticker for the delay
    let mut ticker = Ticker::every(Duration::from_millis(100));

    loop {
        // Wait for the ticker to expire
        ticker.next().await;

        // Toggle the leds
        green_led.toggle();
        red_led.toggle();
        green_led2.toggle();
        orange_led.toggle();
        red_led2.toggle();
        blue_led.toggle();
    }
}
Now let’s go through the code step by step and understand what each part does.
No Standard Library and No Main
#![no_std]
#![no_main]
#![no_std] tells the rust compiler that we are building a binary without the standard library and #![no_main] tells the Rust compiler that this program does not use the conventional main function as its entry point. This is typical in embedded applications where the entry point needs to conform to specific requirements or where the startup is handled by the hardware or a framework.
Importing Libraries
Next, the library imports.
- Spawner from embassy_executor is used to handle task spawning in an async environment.
- From embassy_stm32::gpio, we import Level, Output, and Speed to configure GPIO pins.
- Duration and Ticker from embassy_time are used to handle time-related functions like delays.
- panic_probe is a library used for better panic messages in embedded systems; the as _ means it’s used for its side effects (setting up panic handling) and not for its symbols.
use embassy_executor::Spawner;
use embassy_stm32::gpio::{Level, Output, Speed};
use embassy_time::{Duration, Ticker};
use panic_probe as _;
Clock Configuration
This function sets up the clock configuration for the STM32 microcontroller. It enables the High-Speed Internal oscillator (HSI) which is one of the clock sources that can drive the system clock.
fn clock_config() -> embassy_stm32::Config {
    let mut config = embassy_stm32::Config::default();
    config.rcc.hsi = true; // Configure to use the high speed internal oscillator (HSI).
    config
}
Main Function
The #[embassy_executor::main] attribute macro marks this asynchronous function as the entry point of the program. The function takes a Spawner argument for potentially spawning new asynchronous tasks. It initializes the STM32 peripherals according to our configuration.
#[embassy_executor::main]
async fn main(_spawner: Spawner) {
    let peripherals = embassy_stm32::init(clock_config());
GPIO Pins
Next, we set up our GPIO pins according to the discovery board’s pinout. We create Output instances for each LED pin, specifying the pin number, initial level, and speed. The pins are configured as outputs, and the initial level is set to High. The speed is set to VeryHigh, which is the fastest speed available. The speed specifies the maximum frequency at which the pin can be toggled.
let mut green_led = Output::new(peripherals.PA9, Level::High, Speed::VeryHigh);
...
let mut blue_led = Output::new(peripherals.PD15, Level::High, Speed::VeryHigh);
Ticker for Delays
let mut ticker = Ticker::every(Duration::from_millis(100));
Ticker is an embassy_time construct. The embassy_time crate provides time-related functionality for embedded systems. The Ticker::every(Duration::from_millis(100)) creates a new Ticker that expires every 100 milliseconds.
The Main Loop
loop {
    ticker.next().await;
    green_led.toggle();
    ...
    blue_led.toggle();
}
The main loop waits for the ticker to expire, toggles the LEDs, and repeats the process indefinitely. The ticker.next().await suspends the task until the ticker expires, allowing the LEDs to blink at regular intervals. The toggle() method changes the state of the LED from on to off and vice versa.
The Result

If you want to take a look at the code, the full repository is available at my github.